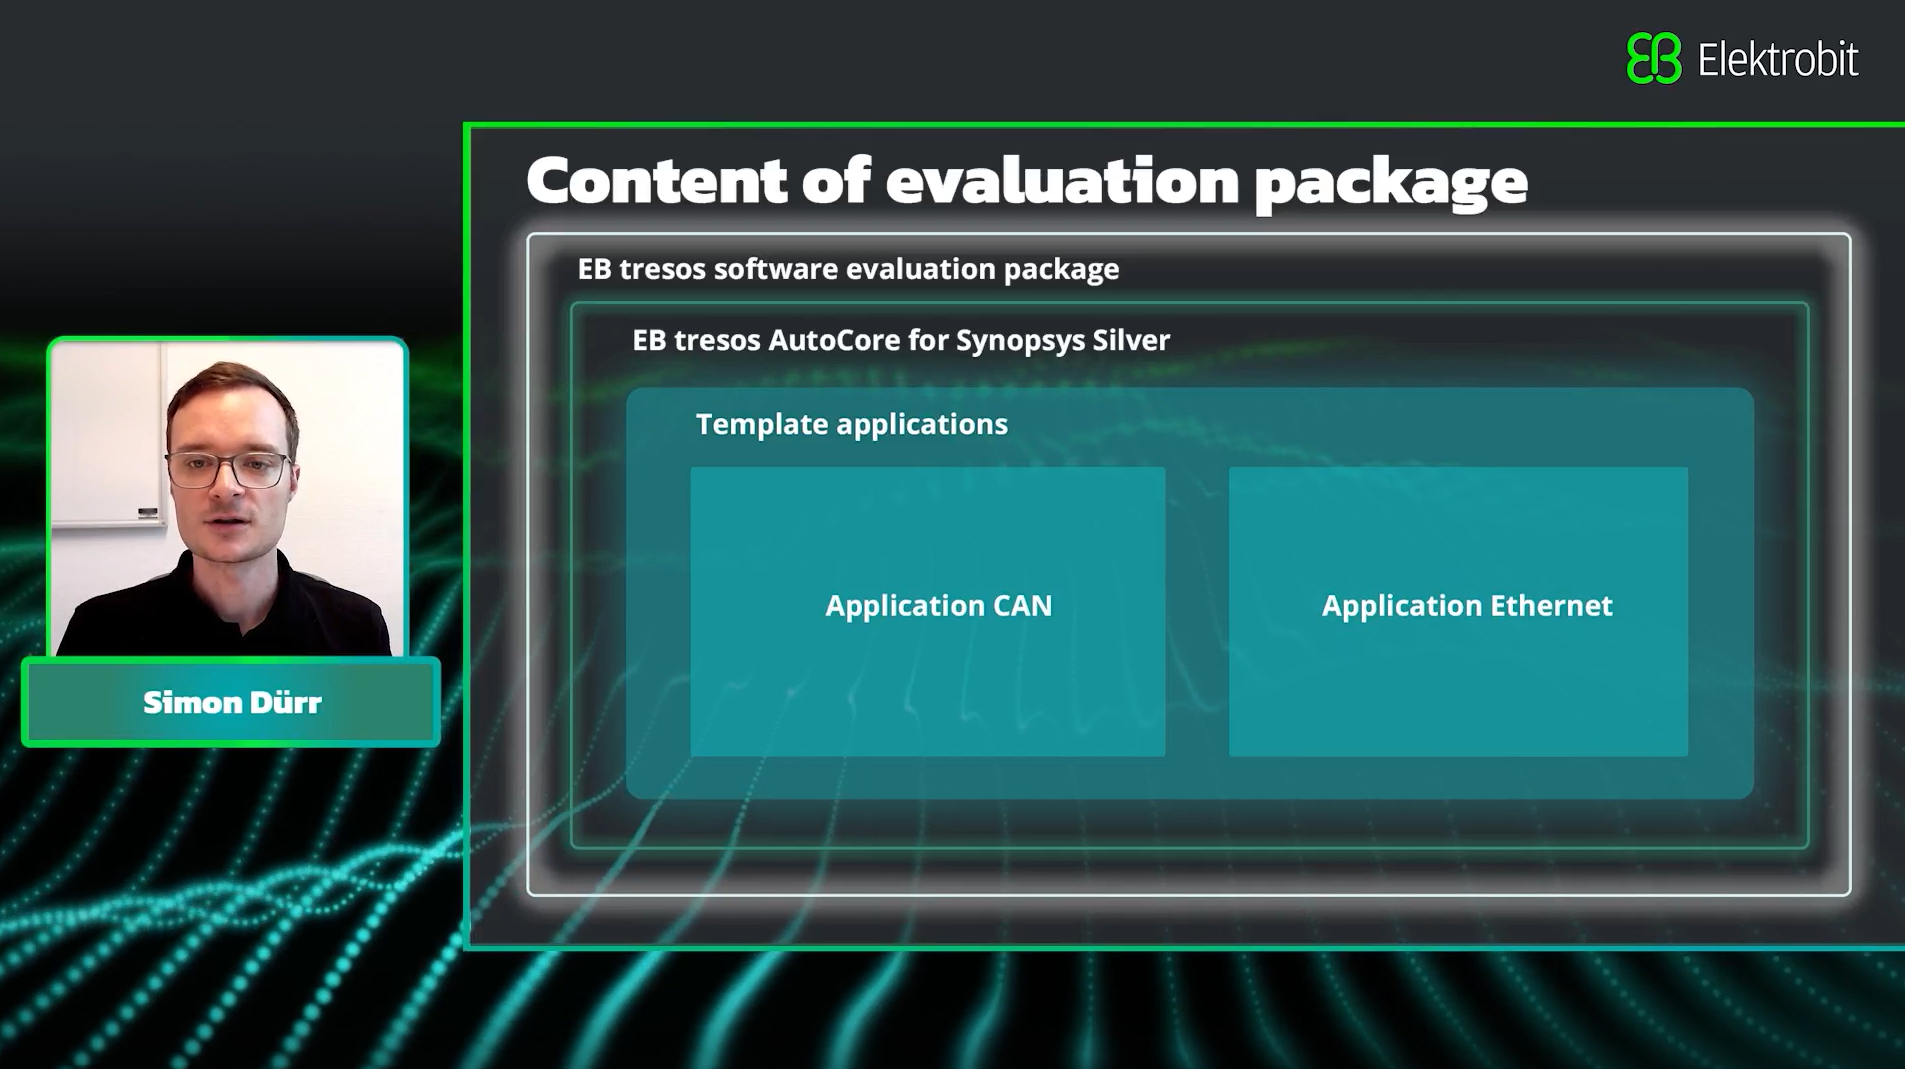
Details on the required Synopsys Silver can be found through our partner Synopsys
Getting started
Installing EB tresos Studio
- Navigate to the folder EB tresos software package that you have downloaded and unzipped from the Elektrobit website.
- To start the installation, double-click the setup.exe file.
The EB tresos Installer window opens.
- In the list, select the products that you want to install and click Install.
- A successful installation is completed with the installation complete message.
Starting EB tresos Studio
- Open the EB tresos Studio installation directory.
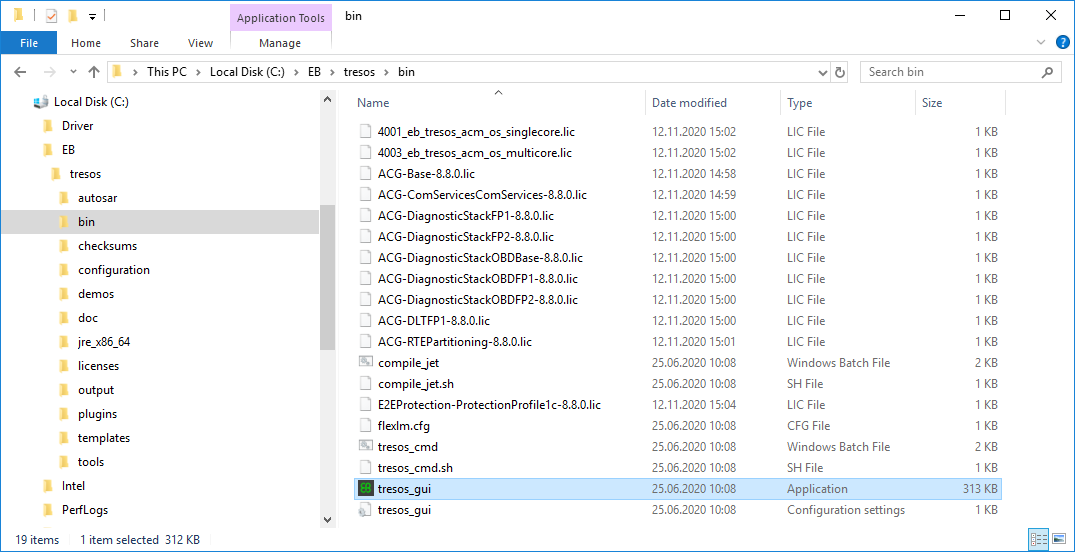
- To start EB tresos Studio, double-click bin\tresos_gui.exe.
If you start EB tresos Studio for the first time, you are asked whether you want to create the default workspace. The workspace is a directory where projects and settings are stored. The default workspace is the directory workspace within the EB tresos Studio installation folder.
Installing an evaluation license
- To install the EB Client License Administrator tool, locate the file EB_Client_License_Administrator_X_Y_Z_Setup.exe that you have downloaded and unzipped from the Elektrobit website. Follow the instruction on the screen to specify the installation path.
- Double-click the file to open the EB Client License Administrator tool. Follow the on-screen instructions.
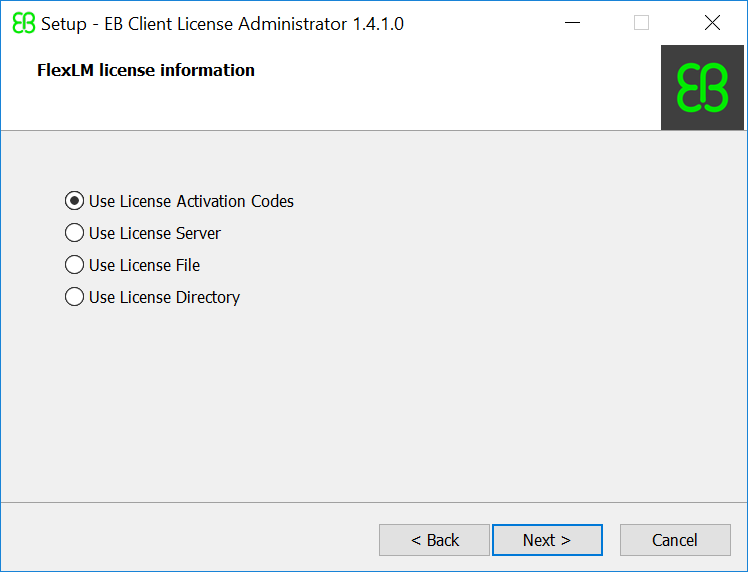
- Start the EB Client License Administrator tool.
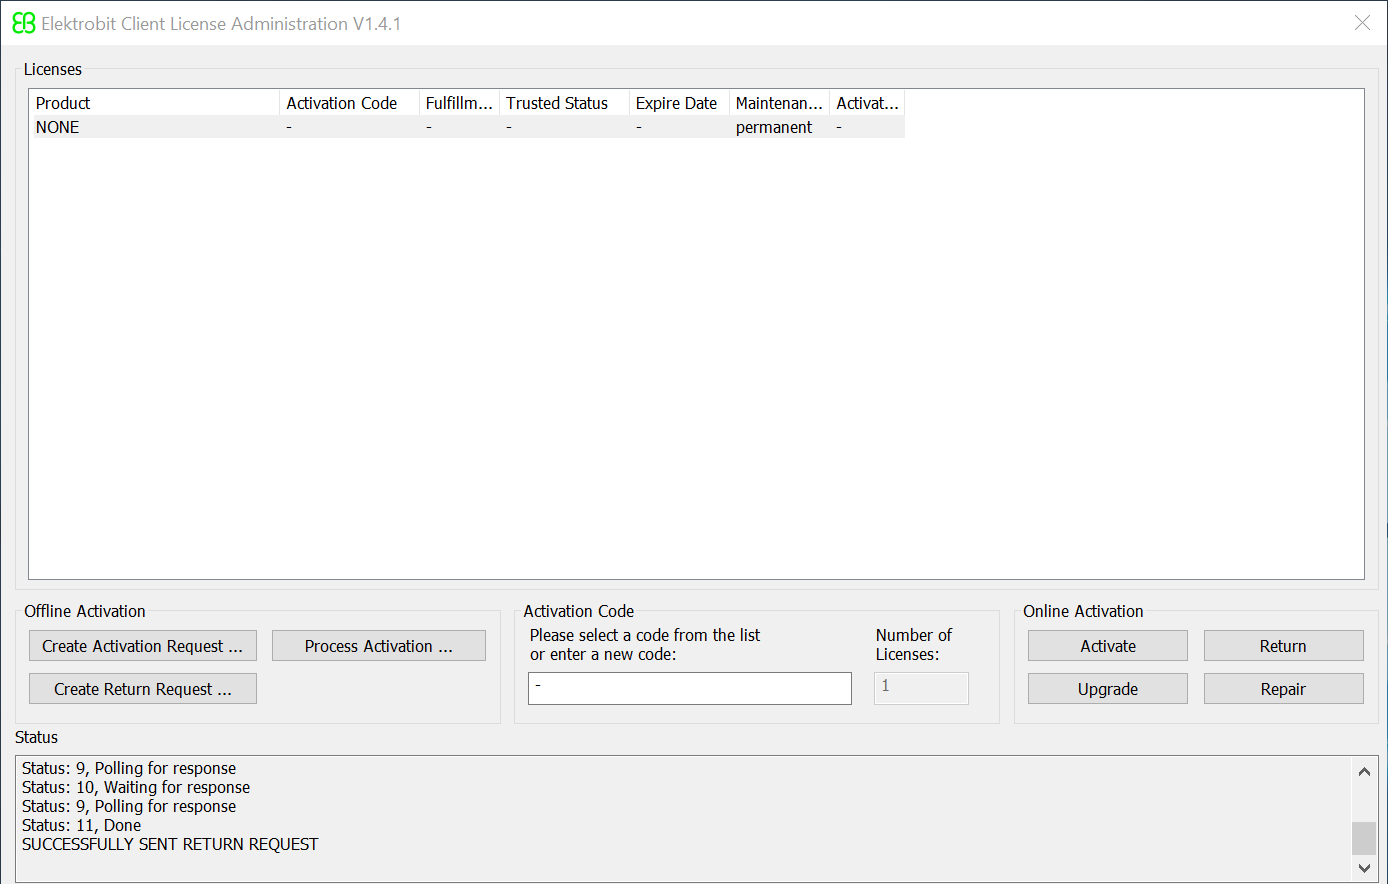
- Enter the activation code that you received from EB into the Activation Code field.
- If your PC is connected to the internet, click the Activate button.
After a couple of seconds your license is displayed.
Creating a project
- In the menu, select File > New > Configuration Project.
The New Configuration Project page opens.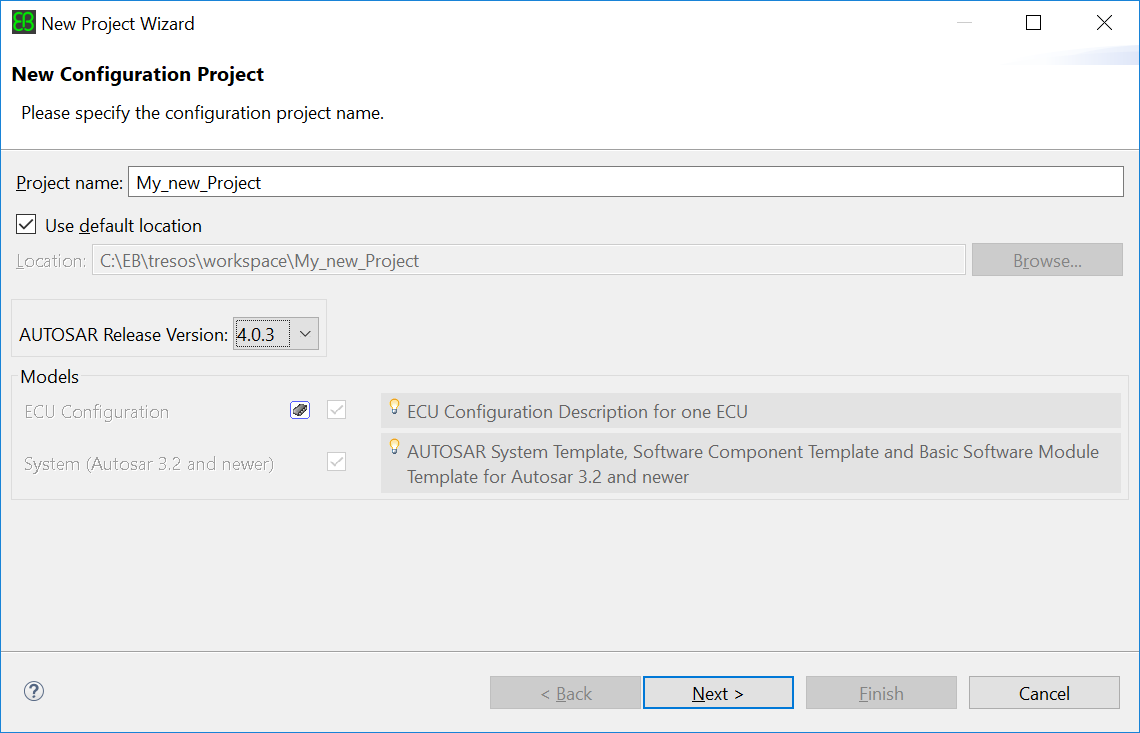
- Enter a project name in the Project name text box.
- Select the AUTOSAR version for your project in the AUTOSAR Release Version dropdown list.
- Click Next.
The Configuration Project Data page opens.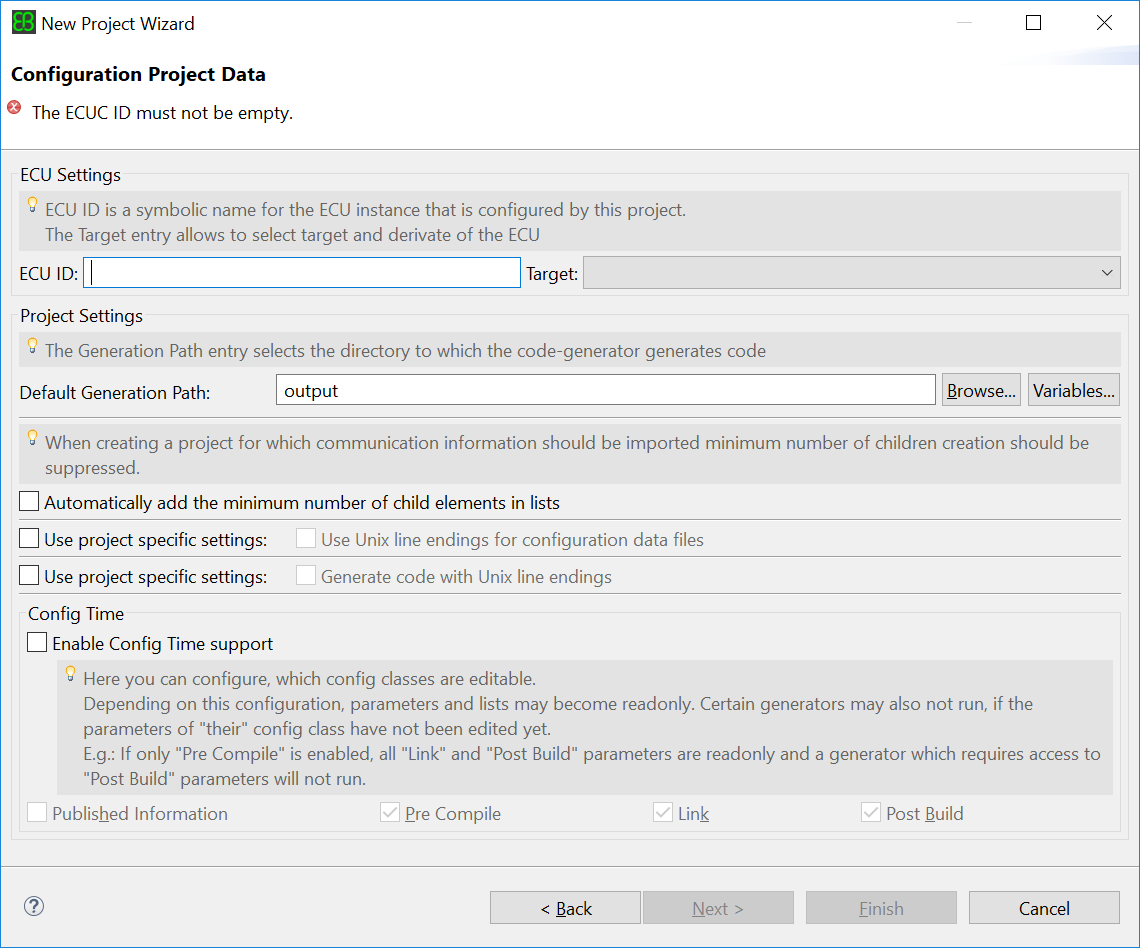
- Fill in the ECU ID.
Usually , this ID is provided by the OEM as part of a system description that describes a vehicle as a whole. - Select the target or derivative of your ECU in the Target dropdown list.
- Select the Project Settings according to your preferences.
- Select Enable Config Time Support to allow only the configuration of parameters and references of specific configuration classes.
By default this setting is deactivated and all parameters are editable. - Click Next.
The Module Configurations page opens.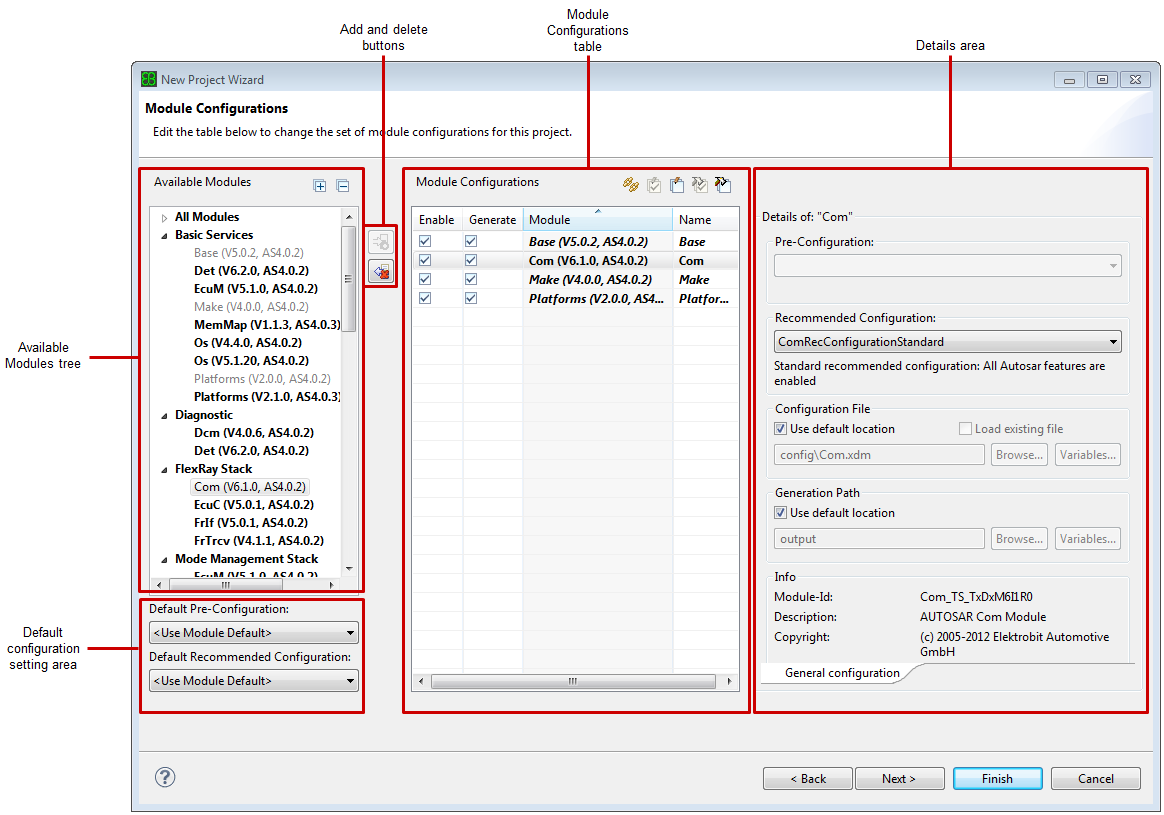
- In the Available Modules tree, select the modules that you want to add to your project and click the Add button.
- Click Next.
The Importers/Exporters page opens.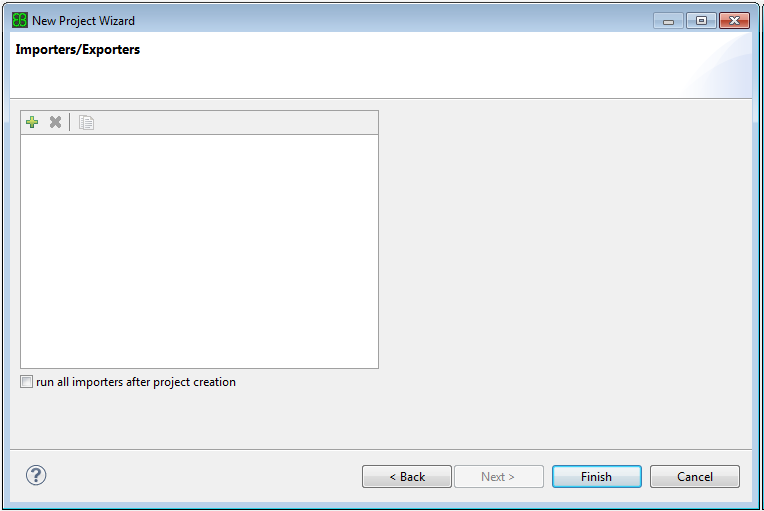
- You can import configuration data into the project. This step is optional. You can also import the data later, or not at all.
- Click Finish to create the project.
Configuring the modules
The Generic Configuration Editor is the central tool for editing ECU configurations. The content of this editor is rendered out of the schema of the module that belongs to a configuration. The content below the header depends on what you are currently viewing. Example: If you open a subcontainer, the editor will show the content of the subcontainer.
Generating the code
After you have finished configuring your project, you can generate the source code of it. The resulting code depends on the values you have entered in the Generic Configuration Editor.
- Before generating the code, verify the project to identify errors. To do this:
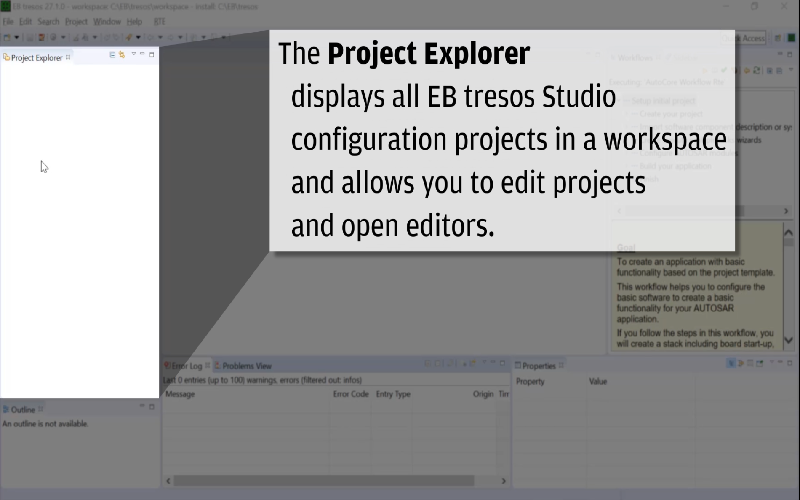
- Select an ECU configuration node within the project from the Project Explorer.
- Click the Verify selected project button
 from the tool bar.
A dialog window opens and the tool starts to verify the project. The window closes automatically when the verification of the project is completed.
The result of the verification is written to the Error Log view.
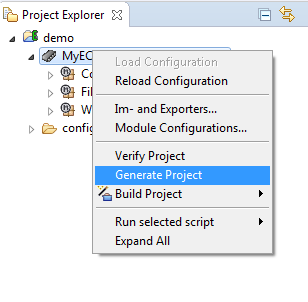
- To generate the code, select Generate Project from the context menu of the required ECU configuration node.
Tutorials
These tutorials will help you understand how to use EB tresos. We update this page as we develop new resources, so check back often and sign up to our newsletter.
Related webinars
Elektrobit experts share their deep understanding on how to build the core technology for safe, secure, flexible software used in ECUs. Have a look at the recordings here:


